Facebook
 Reddit
 Email
Email
Learn how to lay cable in Roadcraft using the right vehicles, planning routes, and avoiding common mistakes to power up facilities.

Power infrastructure in Roadcraft isn’t set up for you automatically. To get major facilities running, like the concrete plant, you have to connect them manually using a cable-laying vehicle. This step is essential to progress in several missions, and it’s easy to overlook small details that can stop everything.
Cable doesn’t snap into place or run along a fixed line. You must physically guide the vehicle across the terrain, dragging an invisible cable from the origin point to the destination. There’s no room for wild steering or rushed movements. Even if the cable is unlimited in length, the connection fails if the line breaks or the tool folds.
Many players get stuck here, not because the task is hard, but because they miss a step. Maybe the route wasn’t clear. Perhaps the tool reset mid-run. Or maybe the start and end points weren’t correctly chosen. This guide walks you through everything, one section at a time — not just what to do, but how to think through each stage so the cable gets where it’s supposed to go.
What Do You Need Before Laying Cable in Roadcraft?
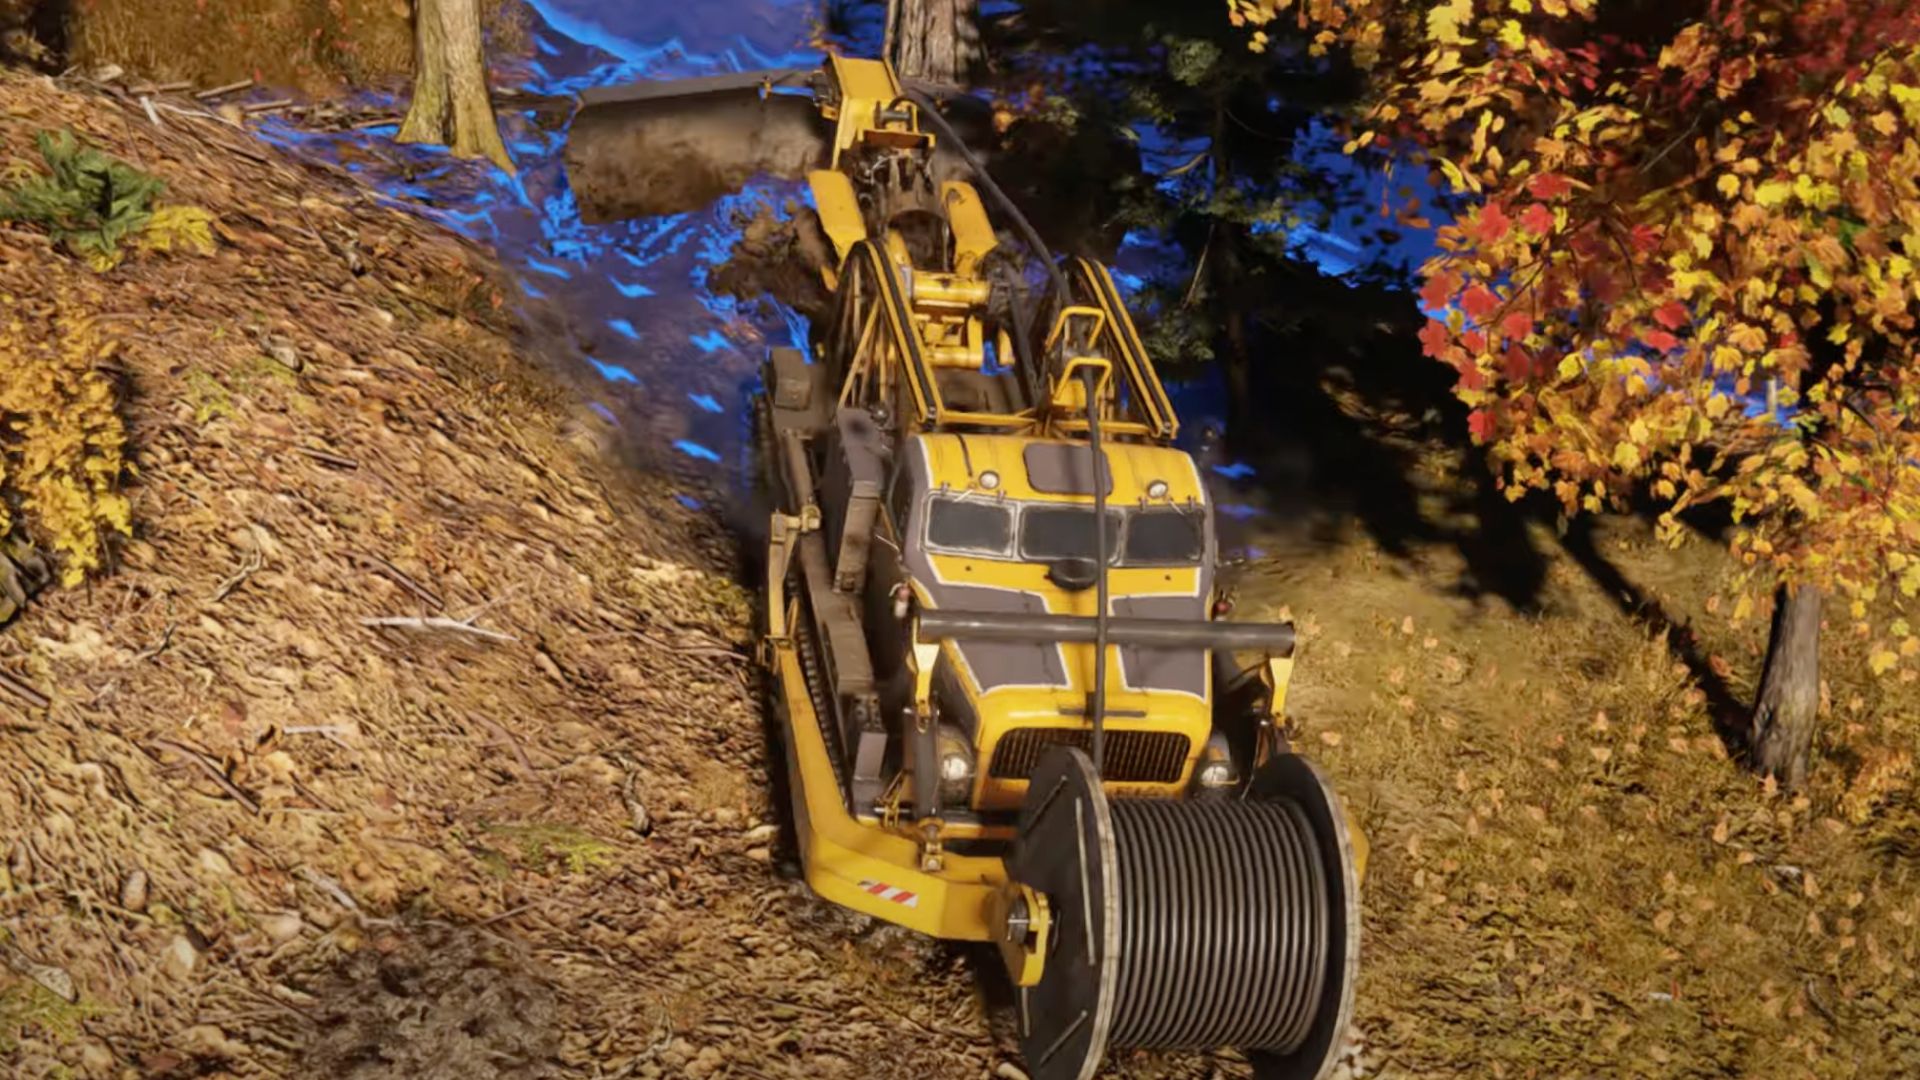
Start by identifying two critical machines. The first is the transformer truck that carries the equipment that sends power. The second is a tracked vehicle specifically made to lay cable. It looks like a small tank.
Open your map, head to the Vehicles tab, and check if both are available. Ensure they aren’t stuck in another zone or parked inside a garage. You will want the transformer truck delivered first to its assigned location. Only after that should you switch to the cable-laying vehicle.
Related:
Prepare the Route in Roadcraft
Before rolling out the cable, take a scout vehicle, the one that moves light and quickly. Drive along your planned path between the power source and the target facility. Use a scanner if available, or rely on your visual instincts.
Look for tree stumps. These can interfere with the cable tool. Remove them using the Rusty Mulcher. Avoid areas with deep water, tight passes, or steep hills. These slow you down and increase the chance of tool folding. Moreover, they interrupt the cable process completely.
How To Start the Cable Laying Process in Roadcraft
Climb into the cable-laying vehicle. Once inside, you will see a prompt to activate the cable system. A blue outline will appear around the facility where power begins. That’s your starting position.
Drive slowly and keep your steering smooth. The cable isn’t visible, but it follows behind you. If your vehicle takes too sharp a turn or bumps into a thick object, the tool might fold and stop laying. The system doesn’t forgive rough movement.
Make Sure the Cable Reaches
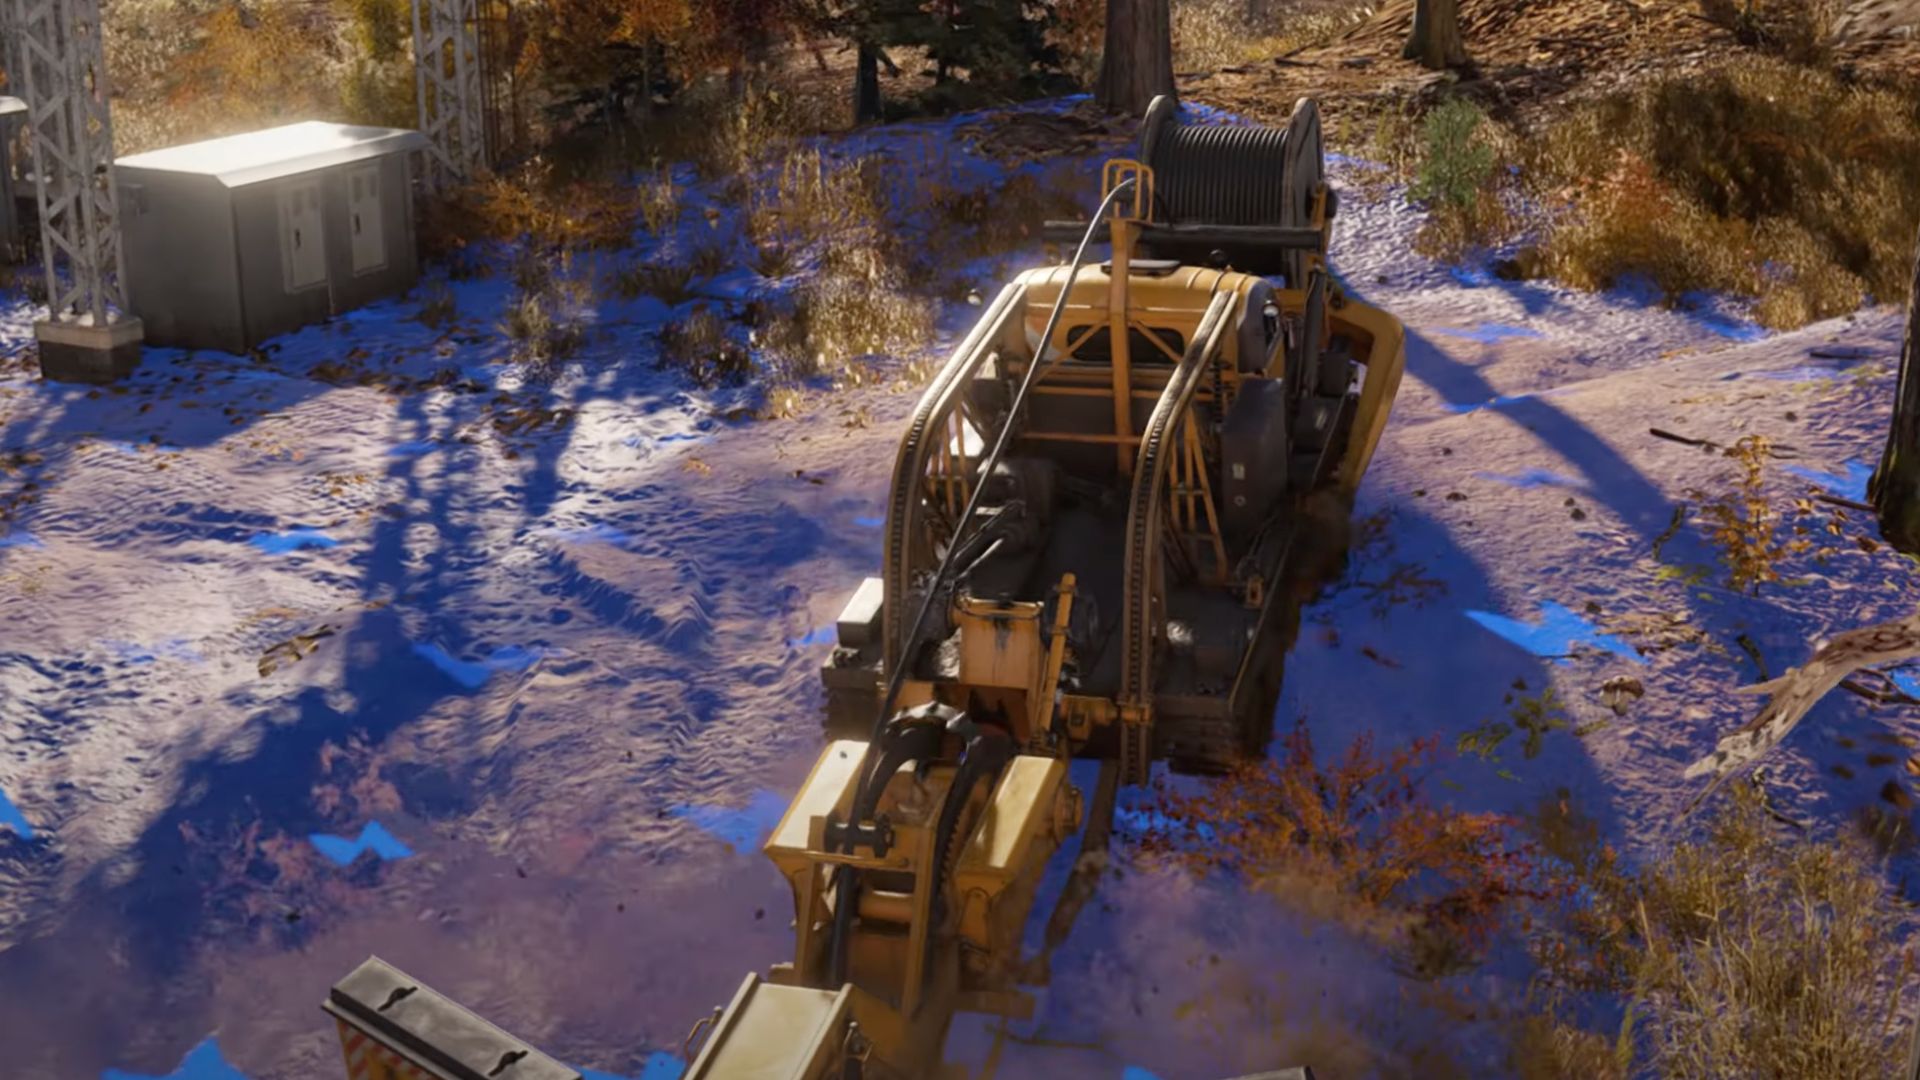
Maintain a consistent speed. Stay on the path you cleared. Each time the cable tool folds or hits an obstacle, you risk disconnecting power. If this happens, stop, reverse slightly, and see if the cable resumes laying.
Once you approach the designated red circle near your target facility, the system will detect the destination. You will know it’s connected when the building powers up. There’s no button for that; it happens automatically if the cable is laid correctly.
What If the Cable Fails To Activate?
Double-check your start point. If you began laying from the destination instead of the power source, the cable won’t activate.
Look again at your endpoint. Did you reach the marker or just get close? The system only works if you make direct contact with the destination zone. Reactivate the tool if it folded during the trip. You may need to restart the process from the origin in some cases.
Use the infrastructure tab on your map to review the mission objective. If the area is still red or inactive, the connection hasn’t been completed.
Looking For More?
Thank you for reading the article. We provide the latest news and create guides for Baldur’s Gate 3, Starfield, ARK Survival Ascended, and more. Also, watch Deltia play games on Twitch or visit his YouTube channel!