Facebook
 Reddit
 Email
Email
Discover everything you need to know about the best Starter builds tier list in Path of Exile 2 and what makes them the best and worst ones.

Starting a league in Path of Exile 2 is no easy task, especially with the abundance of possible choices available at hand. There are countless builds to strive for, but very few strike the perfect balance between low dependency on gear, high survivability, and the ability to clear a screen-full of enemies with ease
In this article, we go over the best starter builds Path of Exile 2 has to offer, and then arrange them in a hierarchy through a tier list. The starter builds here all specialize in different facets of POE2 combat, and you have to pick what you prefer between ranged spellcasting, necromancy-style summoning, or melee combat.
Best Starter Builds Tier List
Here is the best starter build tier list in Path of Exile 2.
| Tier | Builds |
|---|---|
| S-Tier | Whirwind Twister, Poisonburst Pathfinder, Doomslayer Deadeye Grenadier |
| A-Tier | Ice Djinn Varashta, Slam Titan, Wyvern Druid, Shield Wall Kitava |
| B-Tier | LA Deadeye, Frost Wolf Shaman, Plant Druid |
| C-Tier | Hollow Palm Monk, Any Gemling Build |
| D-Tier | Any Ritualist Build |
S-Tier
Poisonburst Pathfinder
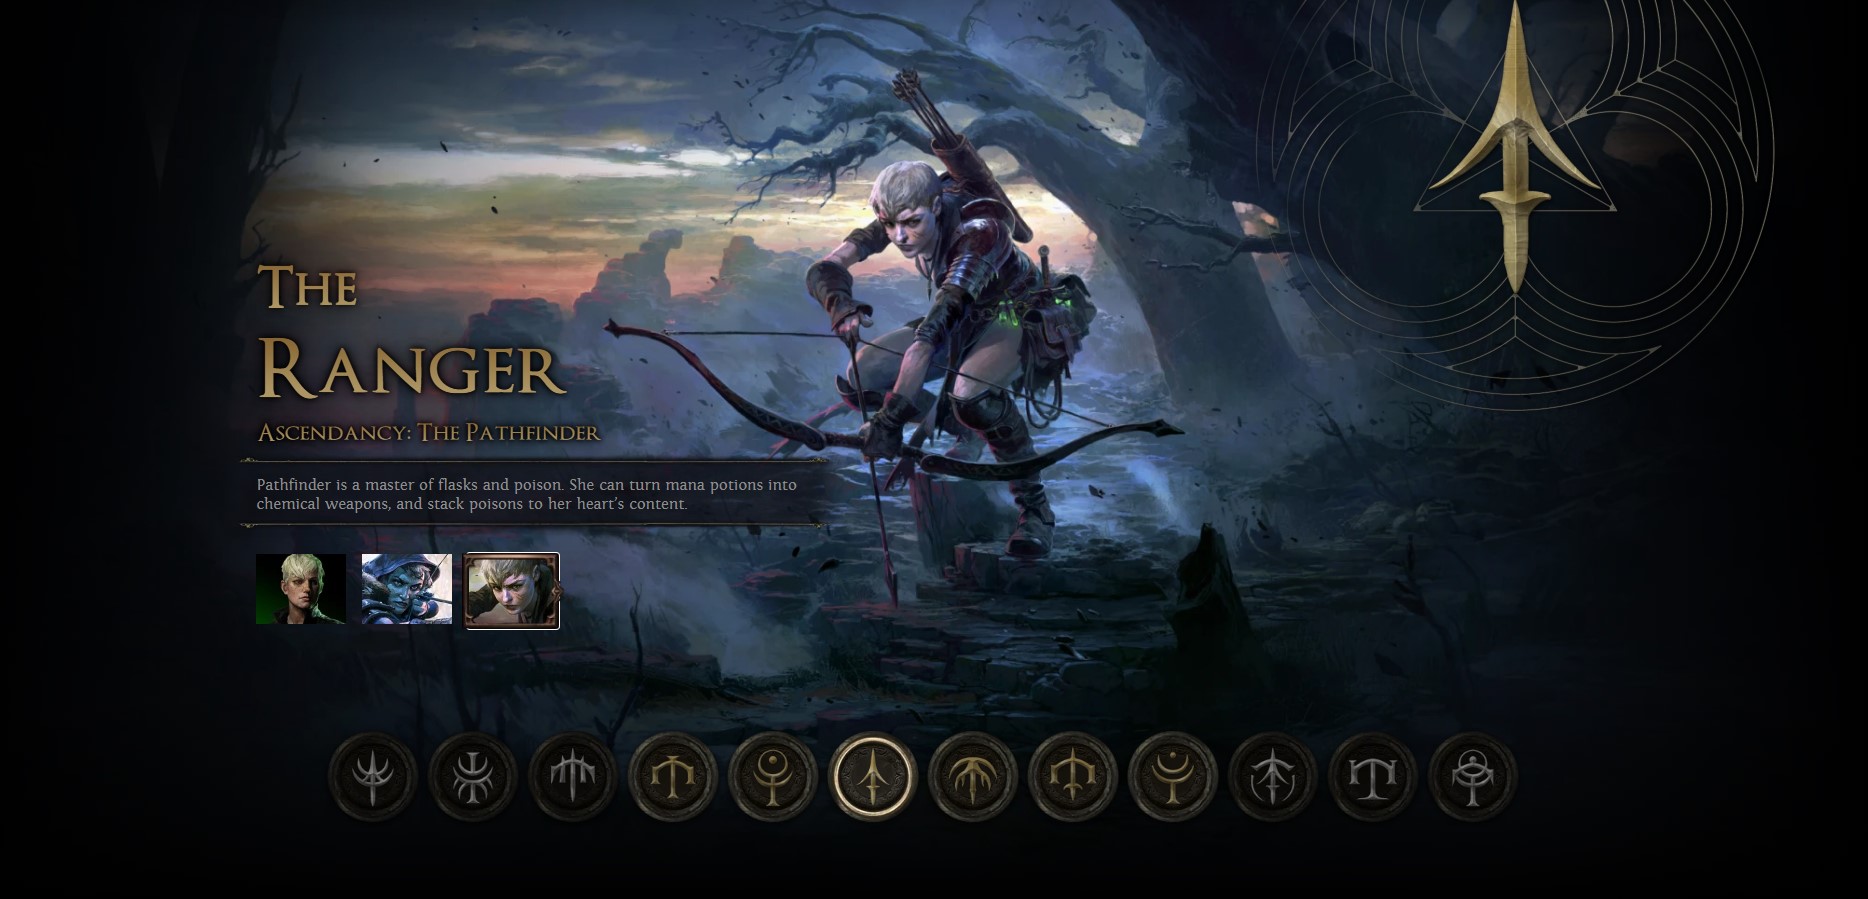
The Poisonburst Pathfinder is one of the strongest builds in Path of Exile 2, and is one that translates incredibly well into the endgame, too. As its name suggests, the build relies on Poisonburst arrows to deal damage. This is a special arrow that you can fire, and upon impact, it explodes to deal poison damage in an area.
The arrows alone, however, are not what make this build so OP. Pair the arrows with Toxic Growth, which allows you to deal an immense amount of damage to elite enemies in the game.
To make it more potent, you also have to add Vine Arrow to the equation. Vine Arrow is a special arrow that deals damage to enemies, but also spawns a plant that slows them down. This is your main means of crowd control, and you can use it to further deal Poison damage to enemies.
Apart from these three main attacks, you also need to use the Herald of Plague gem. This gem improves your AOE damage capabilities, spreading your Poison in an area whenever you kill a Poisoned enemy.
We’ll also be incorporating Bleed in our build, mainly with a combination of Herald of Blood, Poisonburst Arrows, and the Bursting Plague. Eventually, this combination, combined with everything else we’ve suggested, will result in a loop of constant Bleed and Poison damage across AOE explosions.
Whirwind Twister
The Whirlwind Twister is a grater that will chew up any and all enemies in its way. This is a build that relies primarily on the Whirling Slash attack, a melee attack that builds a whirlwind around you to deal damage to enemies. You’ll also be pairing this up with the Twister skill.
The Twister and the Whirlwind will then work in sync due to the Twister’s passive ability that allows it to consume Whirlwinds to create additional Twisters with extra damage. Furthermore, if the Twisters go over elemental ground, they gain even more damage. You can only pursue one elemental ground effect. We recommend pursuing Chilled Grounds and then causing an AOE explosion with Herald of Ice. This creates a loop where you create Whirlwinds and then use Twisters to consume them and increase your damage. You can then send your Twisters over Chilled Ground to cause AOE blasts, clearing out a vast chunk of your screen.
Doomslayer Deadeye Grenadier
The Doomslayer Deadeye Grenadier is one of the best builds in the game and is impressive across all fronts. What makes it even more special is that the build is SSF-friendly, so you can assemble it all by yourself.
As the build name suggests, it relies on Grenade skills. The two main Grenade skills we’ll be focusing on are our Explosive Grenade and Explosive Shot skills. We’ll be using these in sync with the Flash Grenade, Gas Grenade, and Oil Grenade.
Flash Grenade will help stun enemies, while the Gas Grenade will help you cause controlled explosions at will, making them perfect for bosses. Oil Grenade will work similarly to the Gas Grenade, but comes with the additional perk of lowering fire resistance by 20 percent.
While it’s not melee, expect incredibly close-range combat because we’re relying on the Point Blank Ascendancy skill. This skill boosts damage by 20 percent at close range. We’ll also be pairing this up with Close Combat for maximum possible damage at close range.
A-Tier
Wyvern Druid
The Druid is an incredibly powerful class, and a Wyvern build allows you to push it to its full potential. Since it is a Wyvern build, we’ll primarily be relying on Rend to deal damage. This skill transforms you into a Wyvern, after which you then slash away at enemies. The damage is pretty good, but you can take it up a few notches by consuming a Power Charge to obtain a massive damage buff.
To get the Power Charges, we need to avail the buff; we come to the second part of the equation: Devour. Devour is a skill that allows you to devour corpses and then grants you Power Charges for each corpse you consume. The loop therefore becomes: Rend, Devour, Rend some more, Devour some more, and so on.
We’ll also be adding Wing Blast to generate even more Power Charges that we can use. With Wing Blast, your goal is to build up Stun and then release a shockwave, which grants you Power Charge. You can then use the Power Charge for Rend, or instead invest it into Oil Barrage to deal massive chunks of electrical damage. The Wing Blast plus Oil Barrage is loop is best used against some of the game’s bosses, while the Rend plus Devour combo is for the hordes.
Ice Djinn Varashta
The Ice Varashta build relies on a few spells that synergize with each other to boost damage. The first of these spells is the Frost Bomb, which creates a pulsing orb of frost that then detonates after some time to deal cold damage and leaves behind a Cold Infusion.
Cold Infusion is key here as it will allow us to cause a Cold Explosion with our next attack. We’ll use the Cold Infusions for the Ice Nova, which is a skill that consumes Cold Infusions to create Chilled Ground.
All of the above is simply the setup for the Navira’s Fracturing Ascendancy skill. With this kill, you can fracture all of the Chilled Ground near you, dealing a massive chunk of damage to all and freezing any survivors. The Ascendancy skill is key to this build, so it comes into play slightly later than our S-Tier skills, pushing it down to A-Tier.
Slam Titan
As its name suggests, we’ll be using a synergy of slam skills to deal damage. The first of these will be the Volcanic Fissure skill. With this skill, you slam the ground to create a fissure of lava, and you can then slam back on it again with a different slam for an Aftershock. This different slam can be anything, but we mostly rely on Leap Slam to gett the job done. We’ll also be using the Forge Hammer in synergy with the War Cry to create even more fissures. This will be our main way to deal damage to elites and bosses.
For hordes of enemies, we’ll be relying on Sunder, a skill that sees you slamming the ground to create a roiling fissure that damages all in your path. Furthermore, enemies hit by the fissures will then release a shockwave to damage the others, so you have incredible AOE clear potential with this one. We’ll buff this skill even further with the Mountain Splitter Ascendancy node, which will add another chain of Aftershocks to our attacks.
Shield Wall Kitava
For those who prefer being walking tanks, the Shield Wall of Kitava is the build for you. The main stars of this build are the Shield Wall and Fortifying Cry abilities. Shield Wall, as its name suggests, allows you to plant down a shield to throw up a wall of earth. This ability then synergizes with the Fortifying Cry to shatter the wall and damage anyone nearby. To improve this combination, consider using the Onslaught modifier. This will boost your attack and speed, both, making you even more lethal.
In addition to all of the above, we’ll also be picking up Resonating Shield with Bleed and Fire Attunements. Boneshatter is another one we’ll pick up, this time with the Impact Shockwave and Bleed. These two will be one of the main ways for clear. Enhance all of this with Herald of Blood, and you’re gucci.
B-Tier
LA Deadeye
The Lightning Arrow Deadeye was one of the strongest builds in the last patch, and still remains very respectable in this update. Movement speed is king for this build, so you’ll need to invest in a good chunk of gear. When you go through your skill tree, it is important to invest in as many movement speed nodes as possible. This relentless focus on movement speed is to synergize with the Deadeye Ascendancy’s Tailwind buffs.
Previously, the Tailwind buffs would then synergize with skills such as Wind Ward, which would reduce your damage based on the Tailwind. This patch, however, Wind Ward is no longer available. This means that what was essentially 30 percent free durability has now been removed. Reaching that level of durability without Wind Ward requires a greater degree of investment into gear, which is mainly what pushes LA Deadeye down to B-Tier.
The negatives aside, the damage potential is still very impressive. As far as your main skills go, the Lightning Arrow is what you’ll primarily rely on for this. For our clears, we’ll be combining the Lightning Arrow with Lightning Rods to create electric death traps that will destroy multiple enemies at once. Lightning Rod has also been nerfed this patch, but it’s sufficient to get the job done respectably enough.
Lastly, we’ll use the Herald of Thunder to amplify our damage to shocked enemies. This should get you through most of the game, but if you’re seeking 0.3 LA Deadeye, Pathfinder is a good alternative.
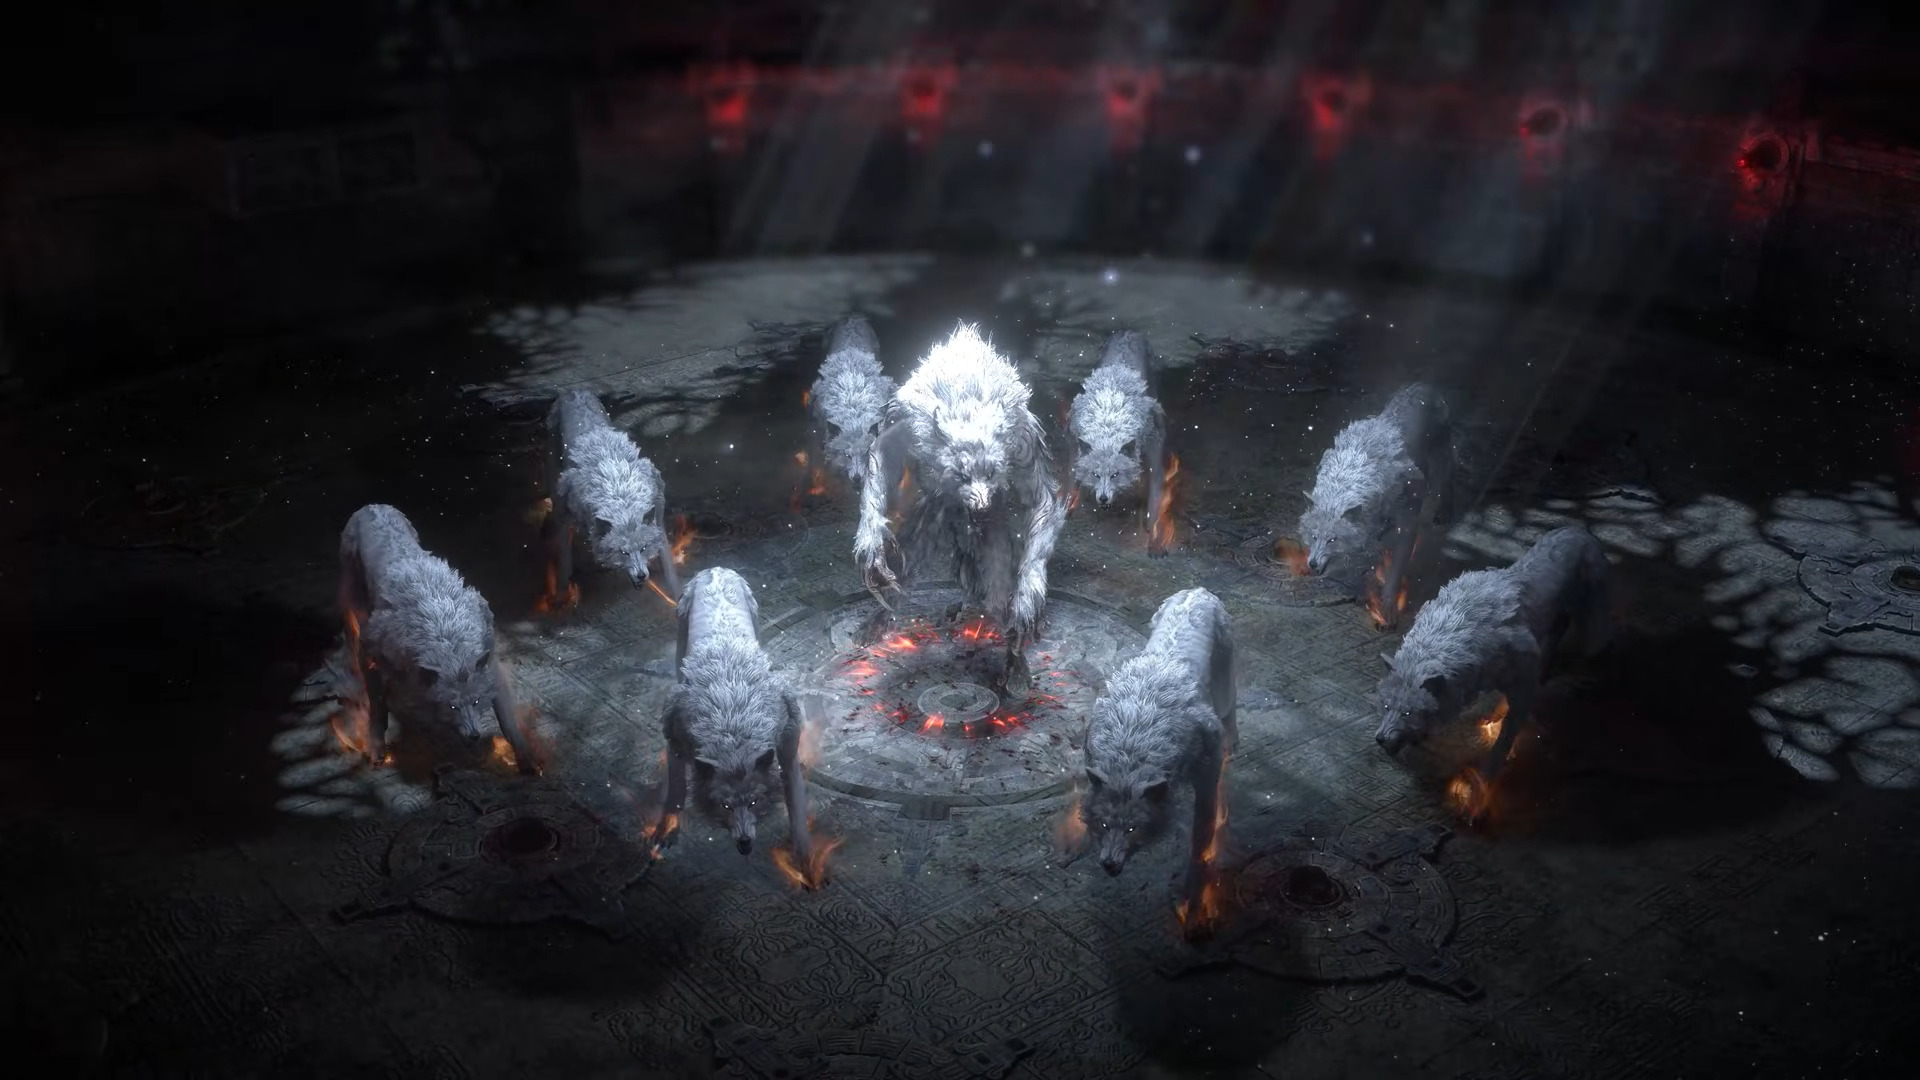
Frost Wolf Shaman
The Frost Wolf Shaman is a fairly powerful build that relies on the Lunar Blessing skill. With this skill, you tap into your inner werewolf, transforming into the creature. You can then exchange your Rage for Cold damage, as well as summon Moonlit beams to strike the ground.
If that wasn’t powerful enough on its own, we’ll then pair it with the Pounce skill. With this, you’ll be able to leap around and move at a rapid pace, clearing areas at a frantic speed.
We’ll also add the Artic Howl skill to work in tandem with Lunar Blessing. Lunar Blessing will allow you to freeze enemies, and Arctic Howl will then amplify the damage you deal to frozen enemies while also creating Chilled Ground.
The final two pieces of this puzzle are Shred and Cross Slash. At a glance, Shred seems like a standard swipe attack, which it is. The real highlight of this skill is its passive ability to spawn Ice Fragments whenever you attack frozen enemies. Once you have the Ice Fragments, you can then use the Cross Slash, which will pull all of the Ice Fragments to cause a massive explosion. The AOE potential with this is incredible, and you’ll be clearing screens before you know it.
Plant Druid
The next build in this tier is the Plant Druid build. This build relies primarily on the Entangled skill, which will allow you to form a fissure that cuts through enemies in its path. Apart from the damage, the skill will also slow down all the enemies it hits. Enhance this further with Branching Fissures, and you’ll expand your reach. Lastly, add in Rapid Casting so you can use this skill much more efficiently.
The second plant ability this build requires is Thrashing Vines. This allows you to summon vines that deal damage to enemies. This skill is strong enough on its own, but we recommend attuning it with Heft to increase Physical Damage by 30 percent. You can run Rapid Casting on this skill, too. With these two skills, your loop is pretty much Thrashing Vines followed by Entangled for the bosses, or vice versa for mobs.
With the plant skills out of the way, the next skill you need is Thunderstorm. This will allow you to rain lightning and thunder on your enemies, dealing extra Shock damage to anyone within your vicinity. More importantly, the Thunderstorm will sync with our plant skills, causing the plants to overgrow and deal more damage.
C-Tier
Hollow Palm Monk
The Hollow Palm build is a martial arts build in POE2, and is one that requires zero investment in terms of weapons early on. Step into the later acts, however, and you’ll have to invest in good armor and iniques to keep up with the rising challenge. Furthermore, the titular Hollow Palm keystone had its base attack speed gutted this patch, so it’s much harder to scale well into the top-end. The damage has been buffed slightly, but the build is nowhere close to what it used to be.
Still, if you wish to persist, your fists are all you need for this build. From Level 14 onwards, your fists and Storm Wave will do all the heavy lifting for clearing. While this skill is sufficient for most mobs, we’ll need the Tempest Flurry to use against bosses. This skill will perform a series of strikes and will then summon a shock bolt at the end for some more damage.
One good thing about the Hollow Palm build is that it scales your Physical damage based on the skill level, which means there’s no real weapon grind ever. Your DPS will also be moderately high as a result of this, and will only scale up and up as you progress, albeit not competitive with the big weapon upgrades.
Any Gemling Build
Any Gemling build in the game easily falls into a lower tier. This is not something you pursue as a start build. There’s a lot of investment required for this and is better suited for a second or a third character. With any Gemling build, you’ll mostly be min-maxing the Ascendancy, and with attribute-stacking strats now in a rut, you’ll be better off ascending to a Witchhunter anyway.
D-Tier
Any Ritualist Build
Much like the Gemling builds in our C-Tier, Ritualist builds are also better pursued on your subsequent characters. This build relies a lot on rings and milking the stats out of them. Since you won’t have top-notch rings to go with, you’ll simply be wasting your time. You’ll be weak for the most part, making this an objectively bad subclass to pick up as a League starter.
Looking for More Path of Exile 2 (POE2)?
Thank you for reading the x Guide. We provide the latest news and create guides for Baldur’s Gate 3, Path of Exile 2, Stalker 2, and more. Also, watch Deltia play games on Twitch or visit his YouTube channel!